Just bought roman shades and realize they are completely see through? Fear not my friend. YOU can add a privacy liner to your roman shade! Here is how you do it.
- You’ll need to purchase an insulating lining fabric (like a thicker linen sheet or even a drop cloth could work!)
- Spread out the shade, fully extended on your work surface. (I found it helpful to work on a surface where the shade hangs over on both ends to help keep it extended.)
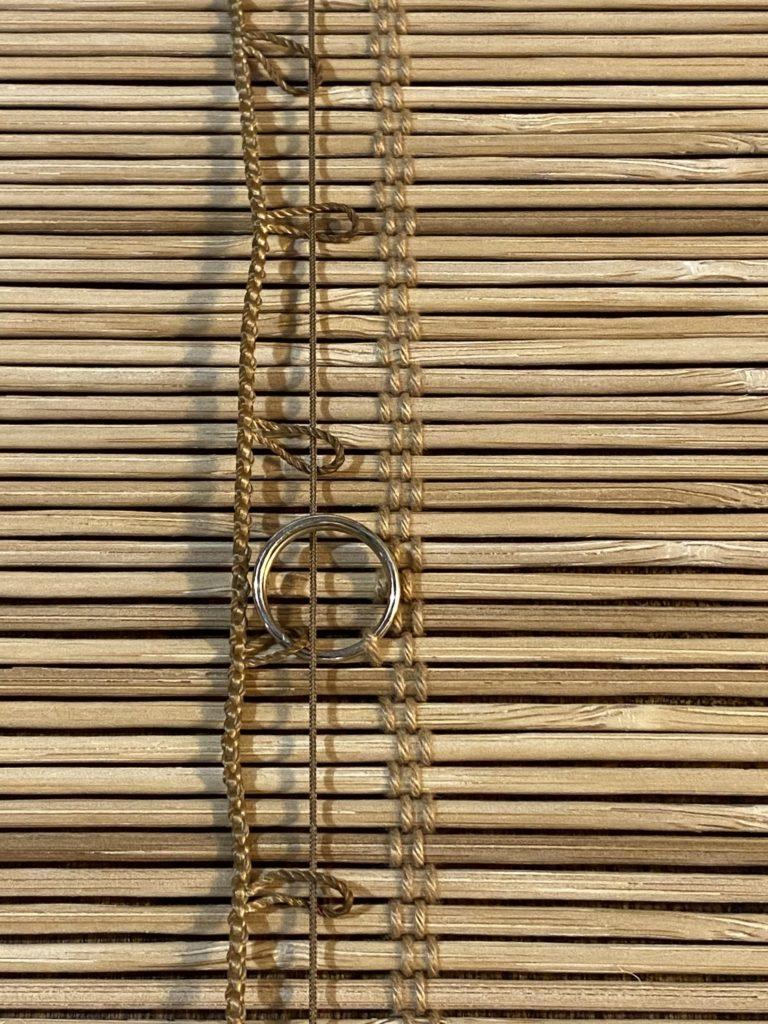
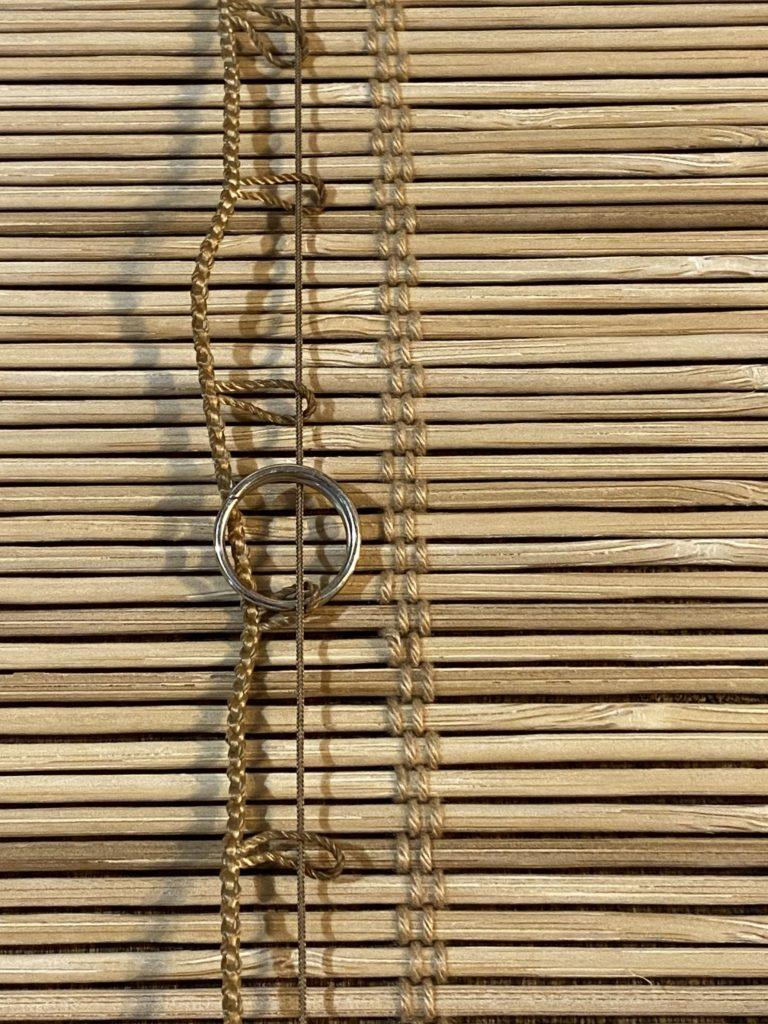
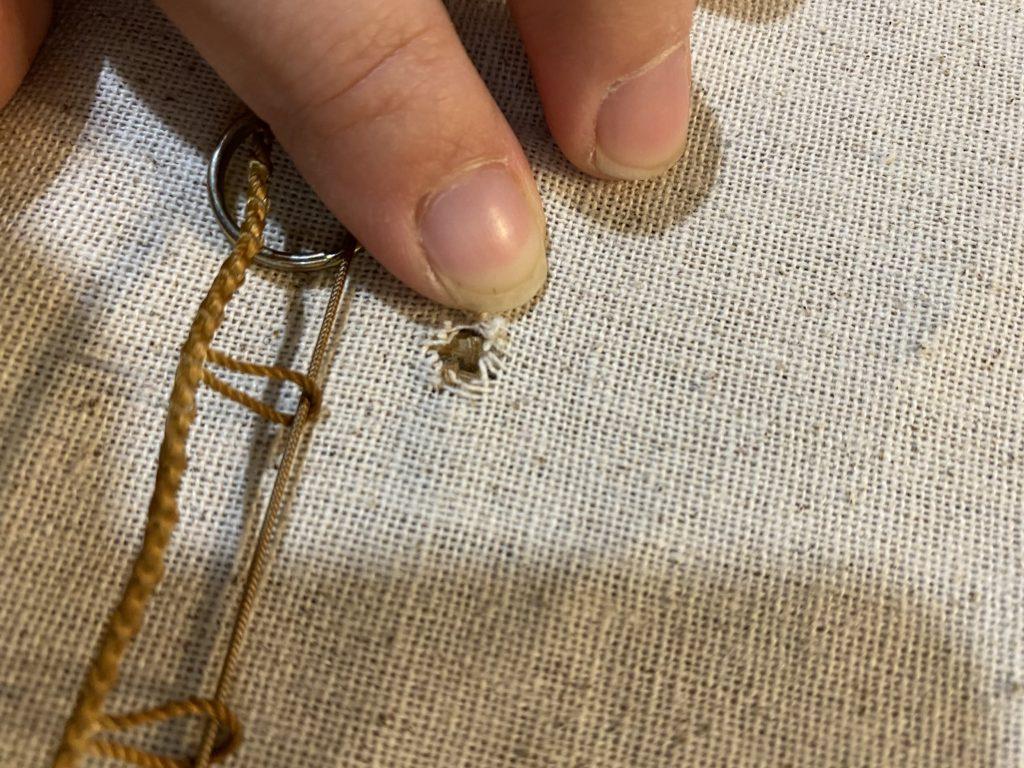
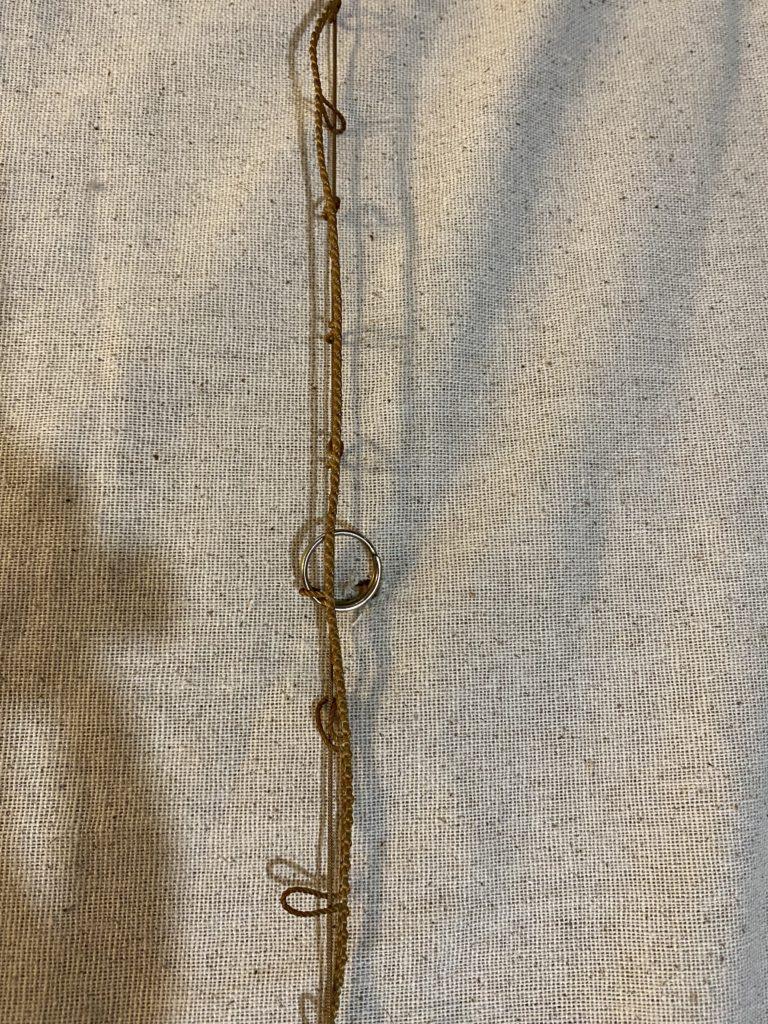
- You’ll see the pull cords running down the back, going through little rings. Depending on the roman shade you’ll ether untie the pull cord from the bottom or in my case you’ll unhook the rings from the back of the shade. (I chose to do it this way because my pull strings were tied so tight to the bottom I couldn’t untie them without needing to cut them and ruin the shade.)
- Figure out how much of the back shade you need to line.
- Cut a piece of liner to fit the shade and optionally sew a zig zag stitch to protect the edges of your fabric
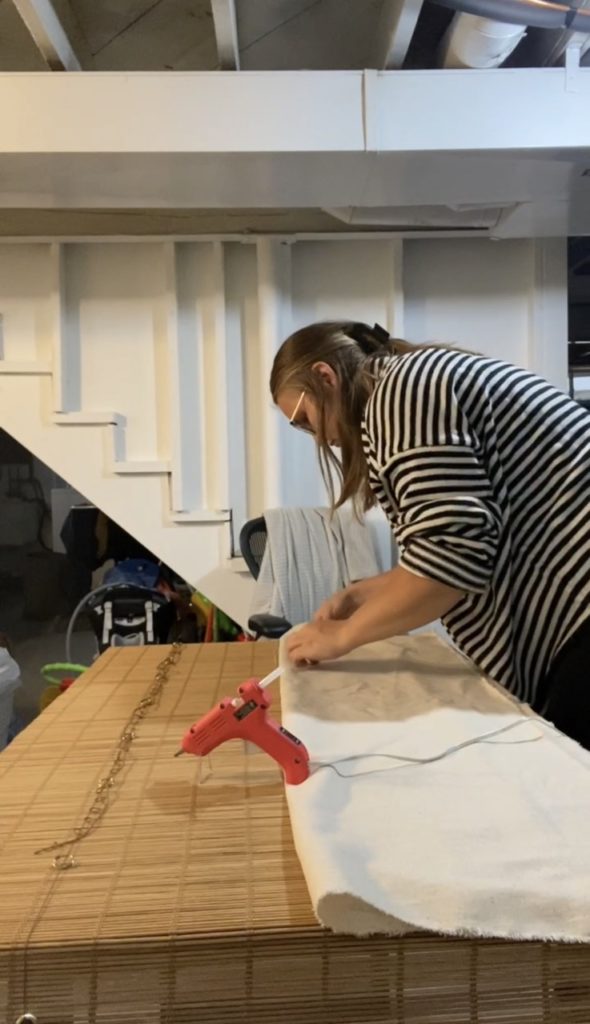
- Grab a hot glue gun to adhere the liner to the shade. Using thin vertical rows of hot glue. I liked to start in the middle of the shade and then adhere the sides. MAKE sure you pull the pull cords OUT FROM UNDERNEATH the fabric BEFORE you hot glue the sides. (I made this mistake and quickly had to pull the fabric off the hot glue and re-glue it again.
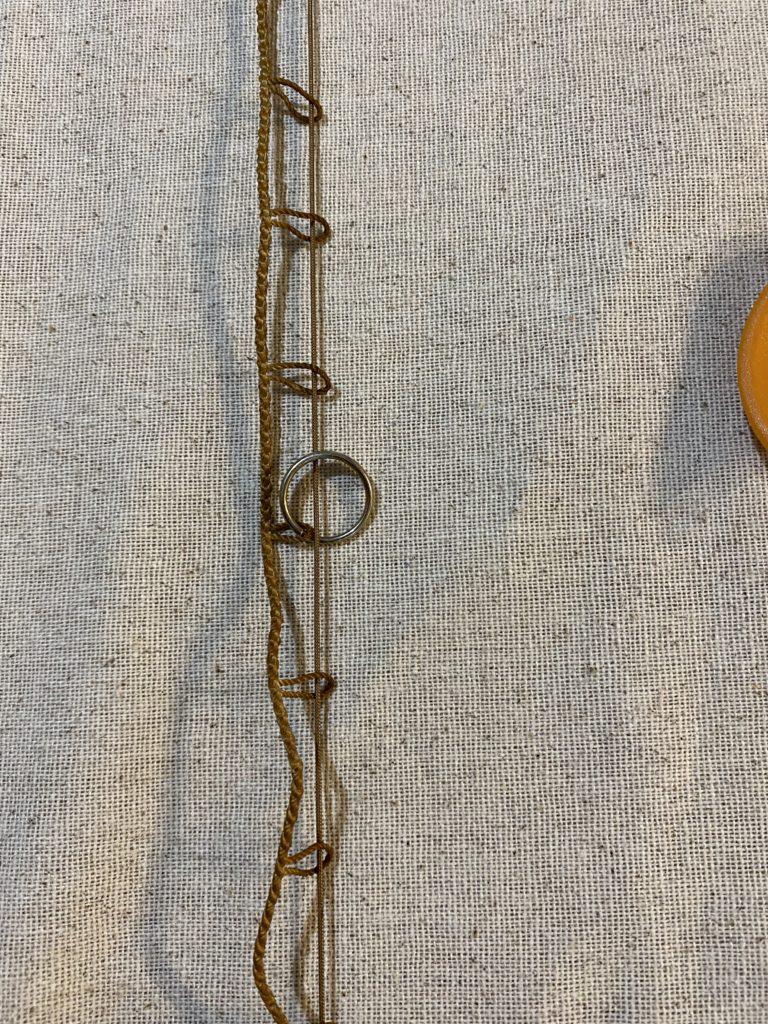
- Once the liner is glued to the shade, use sharp scissors to cut a notch for the metal ring to be reattached to the shade.
- Then reattach the rings to the shade. Using a very small flat head screw driver and a nail from around my house saved my fingers during this step. Be creative and use what you have.
- Enjoy the privacy of your bamboo roman shade!
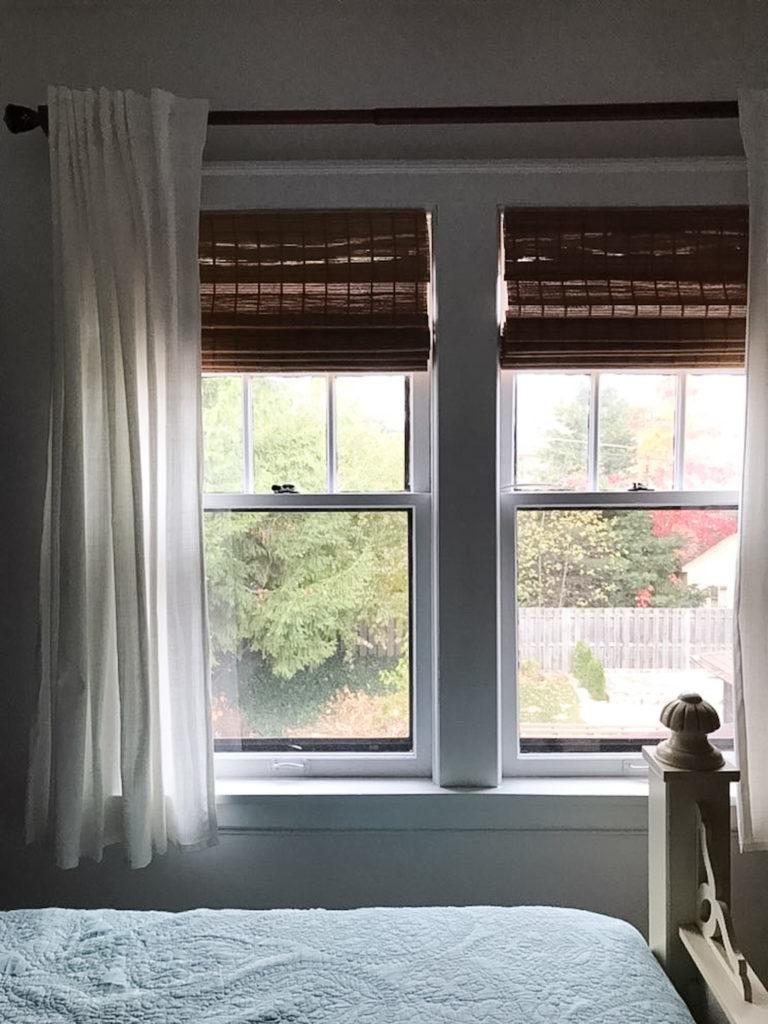
I followed a few tutorials from Pinterest but ultimately had to come up with my own since I couldn’t untie the pull cords.
If you prefer video I have the tutorial saved in an instagram highlight called “Roman Shade”.
Want some more home decor DIYs? Here is a collection of my favorite thrifted home decor pieces that I have styled and DIYed.





 I dive deep in

