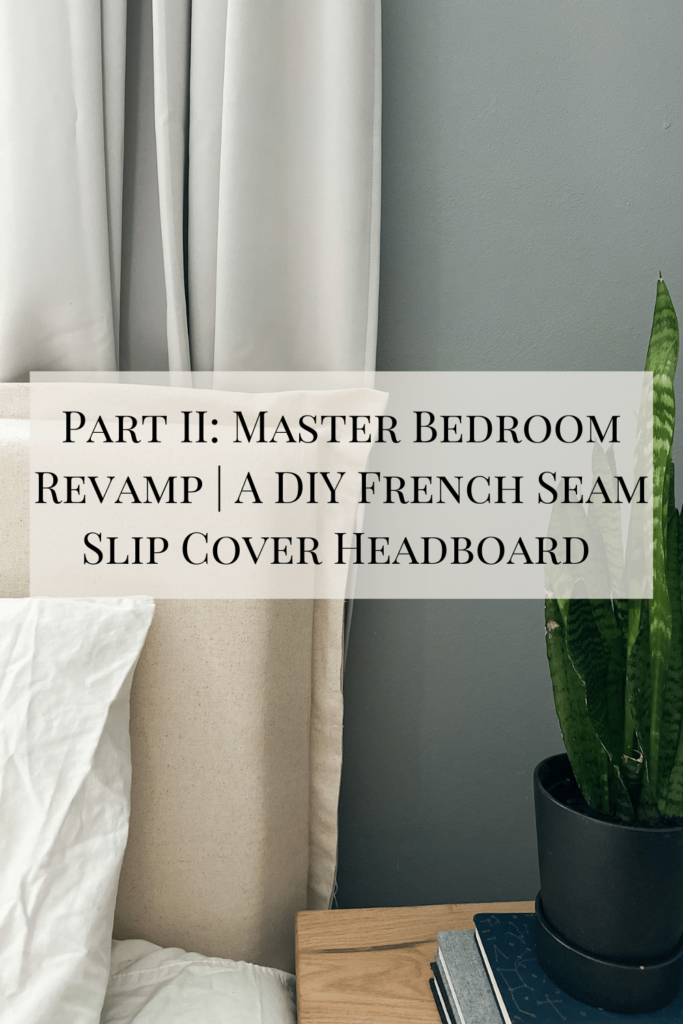
We have a master bedroom update for you, we finally added a headboard! Along with the old rug from our living room.
I was hoping to have a full tutorial for how we made the headboard but my husband did most of the work as I am very largely pregnant. This is the tutorial I found on Pinterest as my guide to make the French seam slip cover.
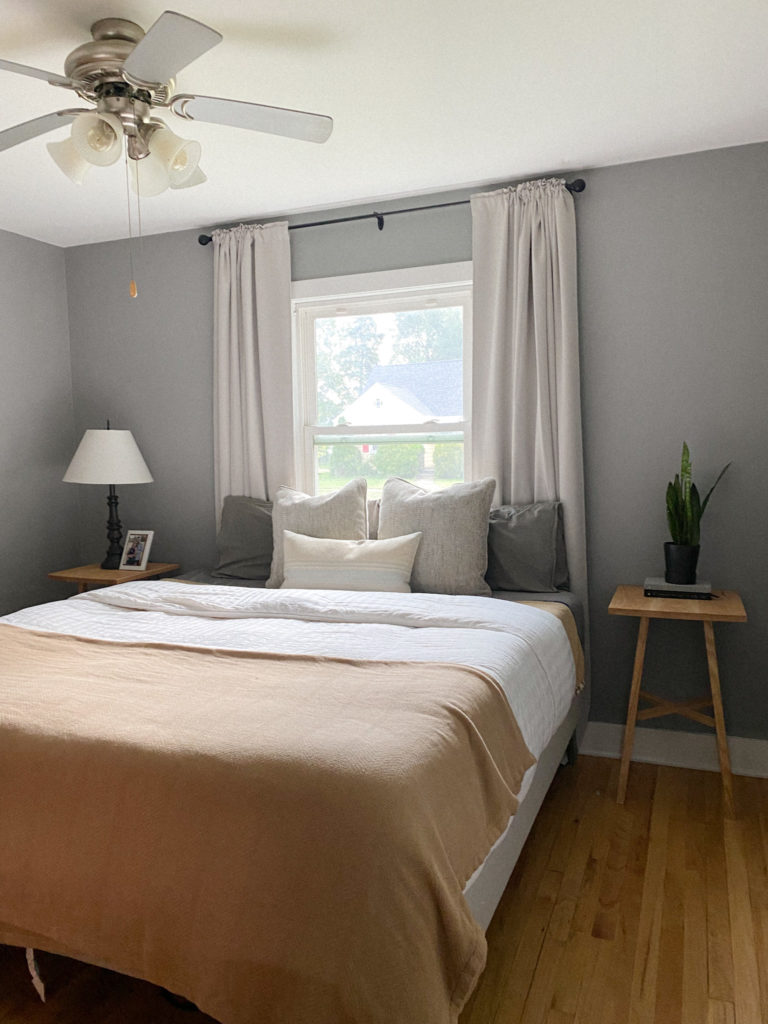
This photo was taken after I did a Master Bedroom Revamp. I guess you could call this Part II.
My husband built the headboard itself and we used our new cordless Milwaukee Air Nailer and are so impressed with this tool. I have been eyeing them for a while and I have mentioned them to my husband before but being the people we are, we couldn’t quite justify buying one when we have a corded version that works perfectly fine you just have to haul the air compressor with it.
Once the headboard was constructed it was my turn to take over the project. This is the second headboard we have built for our bed. We left the first one at our old house since it was mounted to the wall. I still wonder if we could have taken it with us..
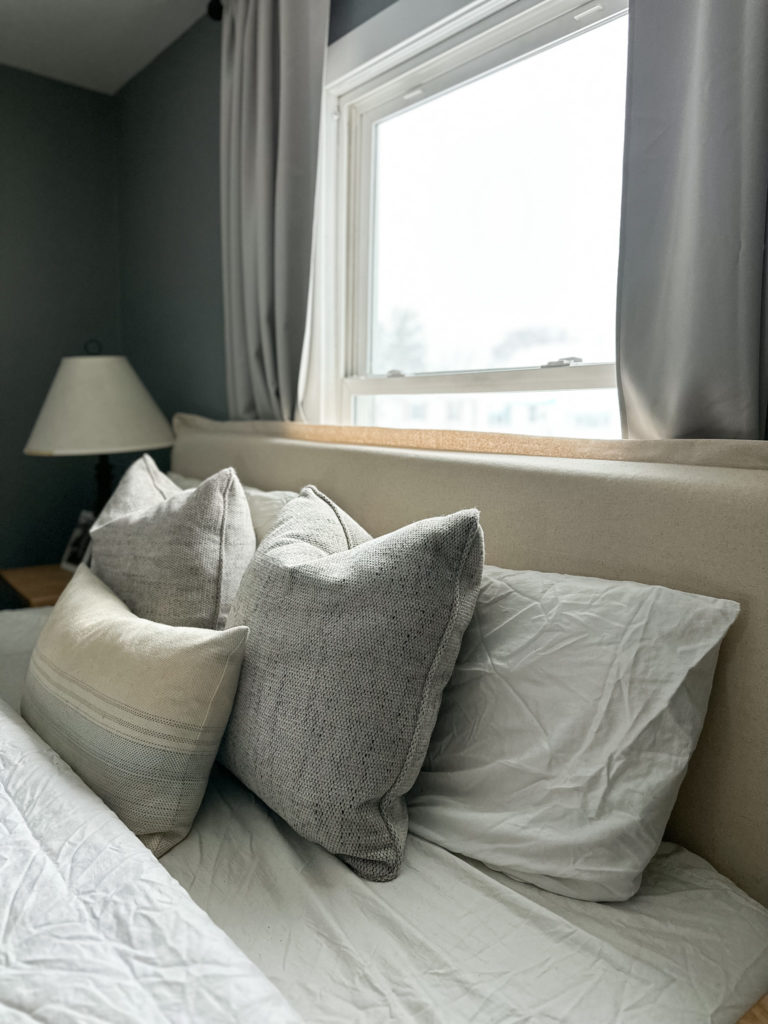
Since having upholstered one headboard already this step was easy. Buy a piece of mattress foam, cover it in quilt batting, and staple to the headboard.
Creating a slip cover was probably the most time consuming part. I wanted to use what I had on hand to limit the cost of this project and had just enough canvas material to piece together for the slip cover. Creating a French seam was very easy. and the fact that it just slips right over the headboard means I can change it whenever I feel like it and repurpose the canvas if I wanted to.
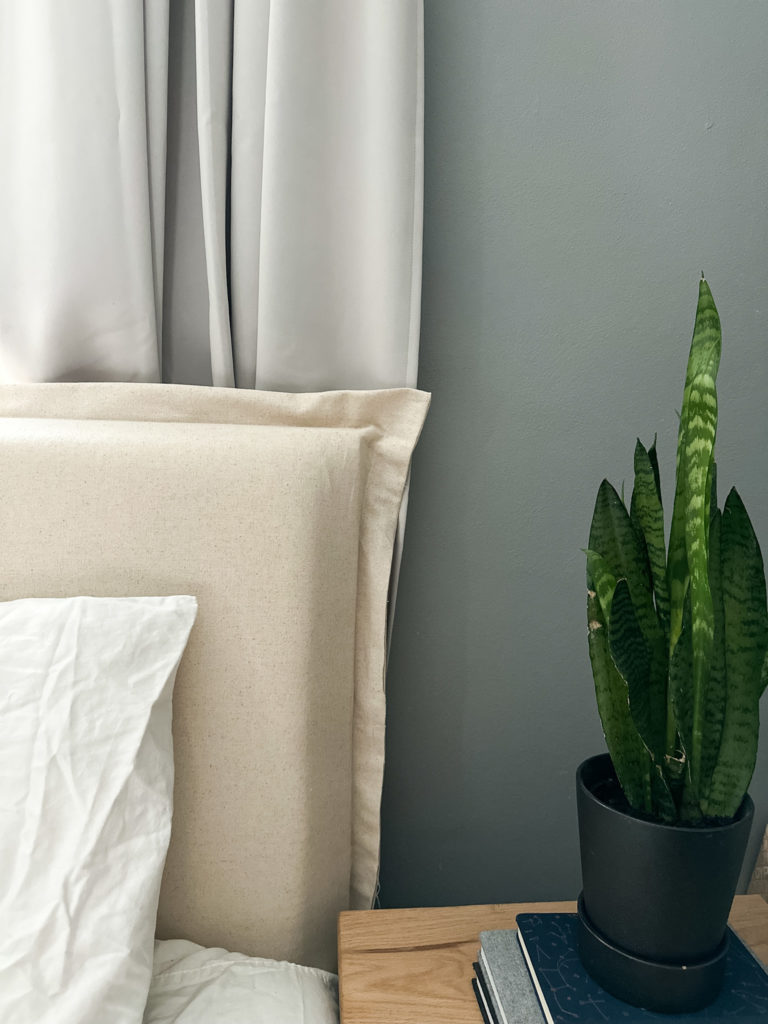
We decided to not mount it to the wall because of the window and opted to not mount it to the bed frame either. So it is currently resting in-between the bed and the wall.
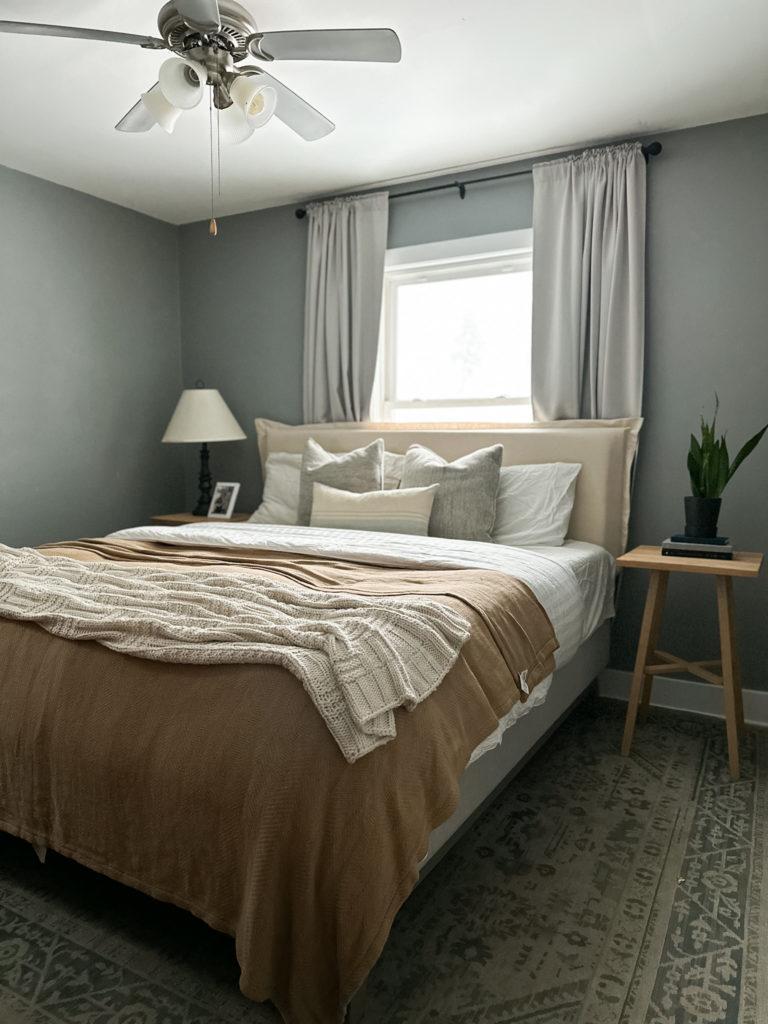
Adding in a rug and the headboard definitely cozy up the space. We have moved our bed over slightly to accommodate a bassinet and changing station for new baby. Which are clearly not pictured here.
I love having a headboard and they are honestly very very easy to DIY.

